
Thinking about starting a worm bin? Keep it simple. A plastic tote, damp shredded cardboard, the right worms, and a little patience can get you going. I’m a fan of simple bins without bottom drainage holes, as long as you manage moisture and don’t let water pool inside. If you’ve already ordered red wigglers and you’re staring at the box thinking, Now what? you’re in the right place. Disclosure: Some links in this guide are affiliate links. I may earn a small commission if you purchase through them, at no extra cost to you.
Your first-week game plan: Prep the bedding before the worms arrive. It should feel like a wrung-out sponge. Add the worms, give them time to settle, and start with a small feeding after a day or two. Bury scraps under bedding so fruit flies don’t find them first. Then check the bin instead of feeding by the calendar. If the food is still sitting there, you’re not behind—your worms just aren’t ready for seconds.
What is Worm Composting?
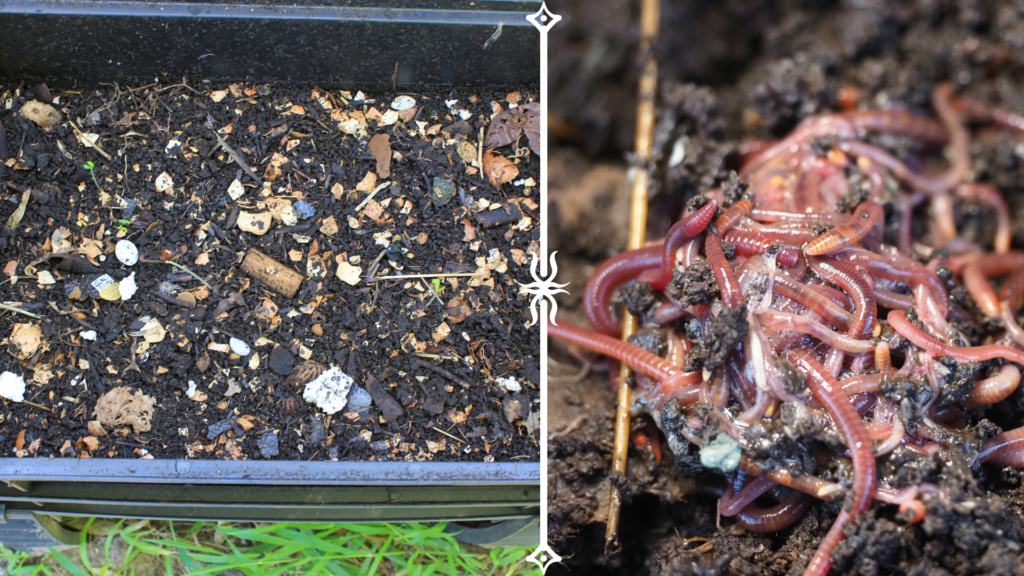
Worm composting, also known as vermicomposting, is the art (and science) of letting worms eat your garbage. No, really. These little wrigglers, particularly red wigglers (Eisenia fetida), transform kitchen scraps into black gold. This results in nutrient-rich worm castings. They will make your garden the envy of the neighborhood.
Worm Composting Links:
- Want to know more about the VIPs of worm composting? Check out Best Worms for Composting.
- Curious how worm castings work magic in the soil? Read How to Use Worm Castings for Better Plant Growth.
Benefits of Worm Composting
Why should you care about feeding worms your leftovers? Here are some perks:
- Waste Reduction: Say goodbye to guilt about throwing out that limp lettuce.
- Free Fertilizer: Worm poop (yes, poop) is packed with nutrients that plants love.
- Eco-Friendly: It’s like giving Mother Nature a high-five.
And the best part? No smelly compost piles or hauling bins across the yard.
Worm Composting Benefits Links:
- Ready to reduce waste? Learn What You Can and Can’t Compost in a Worm Bin.
- Need convincing on how eco-friendly this is? Read The Environmental Benefits of Worm Composting.
Getting Started with Worm Composting
So, what should you actually use as a worm bin? I would start with a simple tote if you’re on a budget. It doesn’t have to be pretty; the worms couldn’t care less. If you’d rather buy a tray system, check my DIY vs. store-bought worm bin comparison before buying anything. Either way, airflow and moisture matter more than the price tag.
Step 1: Choose Your Worms
Red wigglers (Eisenia fetida) are the Beyoncé of the worm world—hardworking, low-maintenance, and thriving in organic waste. Don’t confuse them with the earthworms in your backyard; those divas prefer soil over scraps.
Step 2: Set Up a Worm Bin
- Pick a Bin: Plastic, wood, or even DIY options will do. Just make sure it’s opaque because worms hate the spotlight. (Relatable.)
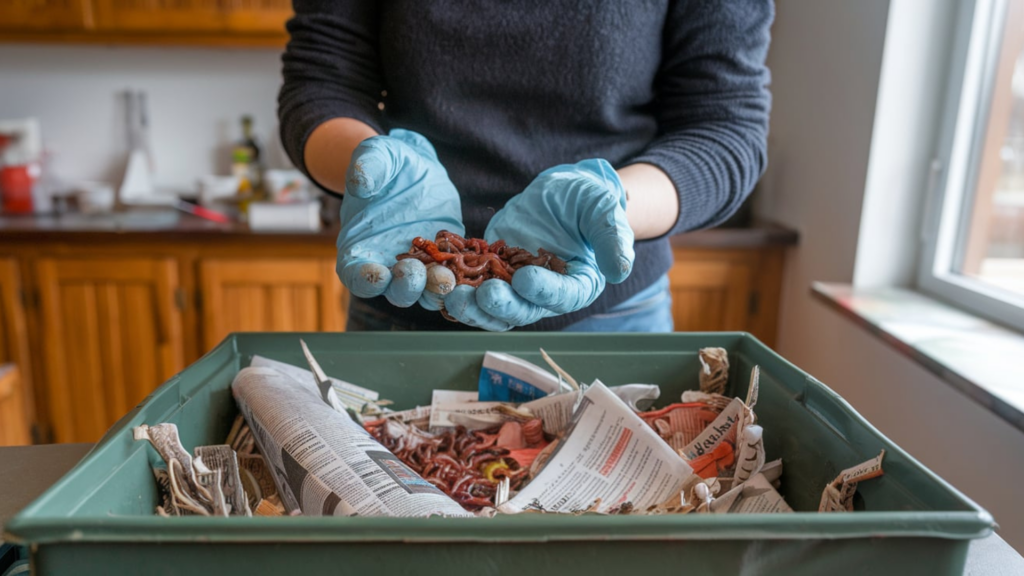
- Add Bedding: Shredded newspaper, cardboard, or coconut coir soaked in water makes a cozy home.
- Introduce the Stars: Add your worms and let them get comfy.
My ready-made pick: I personally own two VermiHut systems, so this isn’t just something I’m recommending from a product photo. For a beginner who wants a tray-style bin instead of building one, the VermiHut Plus is my top pick for the price and everyday use. A basic tote is still the cheaper route, and no tower fixes overfeeding or soaked bedding. Choose the setup you’ll actually enjoy maintaining.

Worm Bin Links:
- Need help picking a bin? Check out Best Worm Composting Bins for Beginners.
- Want to go the DIY route? Read How to Build a DIY Worm Bin.
Feeding Your Worms
Now that your worms are moved in, it’s time to feed them. But don’t go tossing in last night’s pizza.
What They Love:
- Fruit and veggie scraps
- Coffee grounds (worms are caffeine junkies, apparently)
- Eggshells (finely crushed)
What They Hate:
- Citrus peels (too acidic)
- Meat and dairy (they’re vegetarian, thank you)
- Oily foods (worms are health nuts)
Pro tip: Chop tough scraps if you want them to soften sooner, but you don’t need a blender to keep worms happy. Bury a little food in one spot, check on it, and wait until most of it has broken down before adding more. If it smells sour or looks soggy, stop feeding for a bit and mix in some dry cardboard.
Feeding Your Worms Links:
- Want the full menu? Read What to Feed Your Worms: The Ultimate Guide.
- Wondering what happens if you get it wrong? Check out Troubleshooting Common Worm Bin Problems.
Maintaining Your Worm Bin
Taking care of your worms isn’t rocket science, but it does require some TLC.
- Moisture: Worms like their environment damp but not soggy. Think “wrung-out sponge,” not “swimming pool.”
- Temperature: Keep the bin between 55–77°F. If you’re sweating or freezing, your worms probably are too.
- Aeration: Gently fluff the bedding occasionally to keep air flowing and prevent odors.
Worm Bin Maintenance Links:
- Got smelly problems? Read How to Fix a Stinky Worm Bin.
- Curious about indoor bins? Check out Indoor Worm Composting: A Beginner’s Guide.
Harvesting Vermicompost
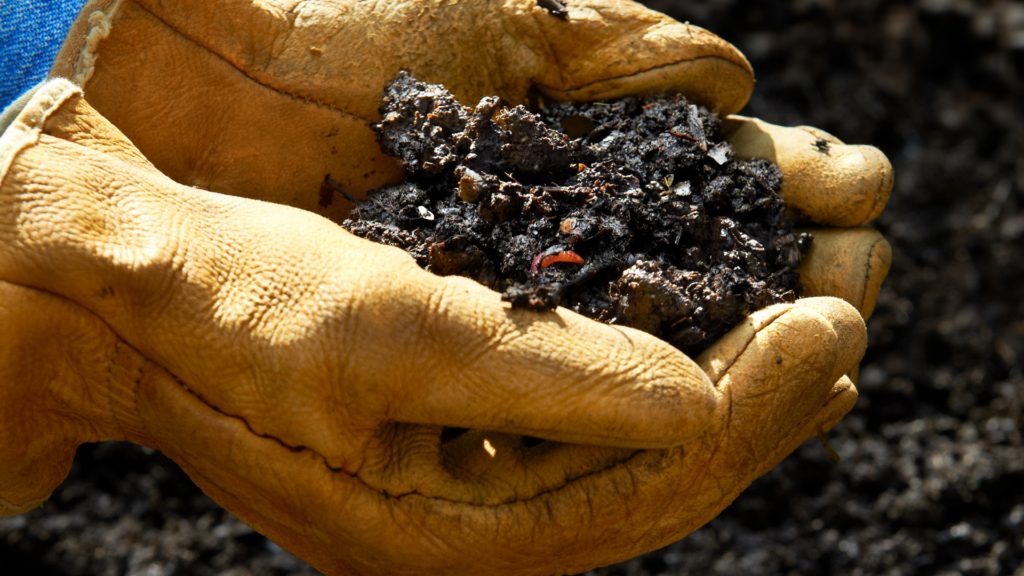
Eventually you’ll see more dark, crumbly material and fewer recognizable scraps. How soon that happens depends on how many worms you started with, what they’re eating, and the temperature. Don’t rush to harvest unfinished bedding. When it’s ready, here’s how to separate your worms and castings with less fuss:
- Push everything to one side of the bin.
- Add fresh bedding and food to the empty side.
- Wait a week for the worms to migrate, then harvest the compost.
Vermicompost Harvesting Links:
- Want step-by-step instructions? Read How to Harvest Worm Castings Like a Pro.
- Not sure how to use the compost? Check out 5 Easy Ways to Use Vermicompost in Your Garden.
FAQs About Worm Composting
Here are some common questions (and a few answers you didn’t know you needed):
- Does a worm bin smell? Only if you do it wrong. A healthy bin smells like fresh earth.
- How fast do worms eat? They can eat half their body weight in a day. Worm diet goals?
- Can I keep a worm bin indoors? Absolutely! It’s like having a pet that doesn’t bark.
Internal Links:
- Got more questions? Check out Worm Composting FAQs.
- Ready to get started? Read How to Start Worm Composting.
Wrapping It Up
Here’s the biggest lesson I can give a new worm farmer: feed less if you’re unsure, keep the bedding comfortably damp, and learn to walk away. You don’t have to check the bin every five minutes. This should be a fun hobby, not another job. Healthy worms and finished castings will come with time.
Ready to dive in? Explore our resources: