

How To Raise Red Worms
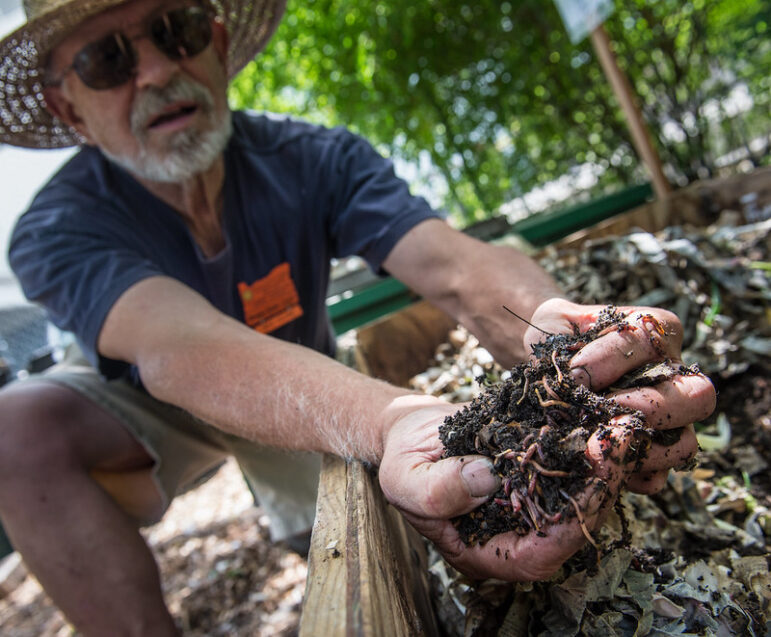
Want to learn how to raise red worms? These little composting machines turn bedding and food scraps into worm castings you can use to improve garden soil. You don’t need a commercial operation to get started—a small, well-managed bin works just fine. Disclosure: Some links here are affiliate links. If you buy through one, I may earn a small commission at no extra cost to you.
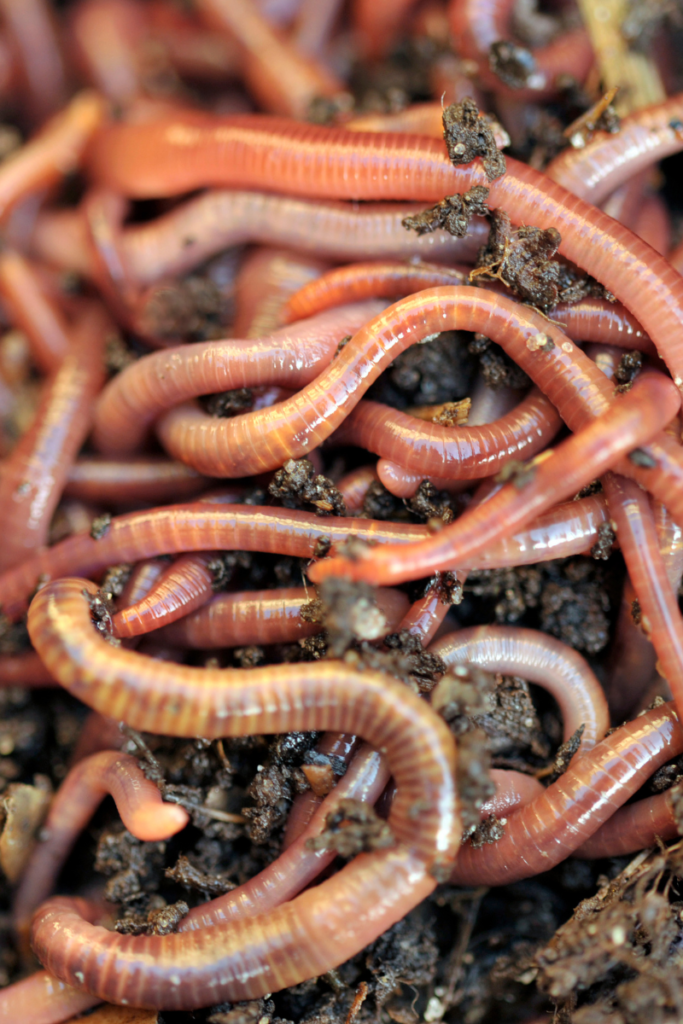
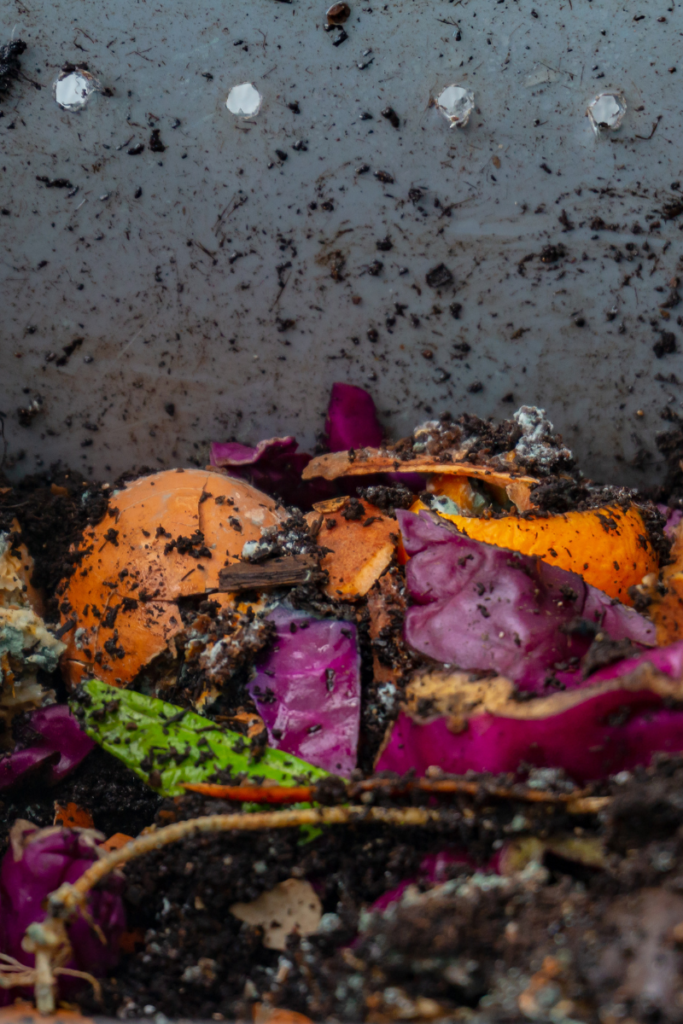
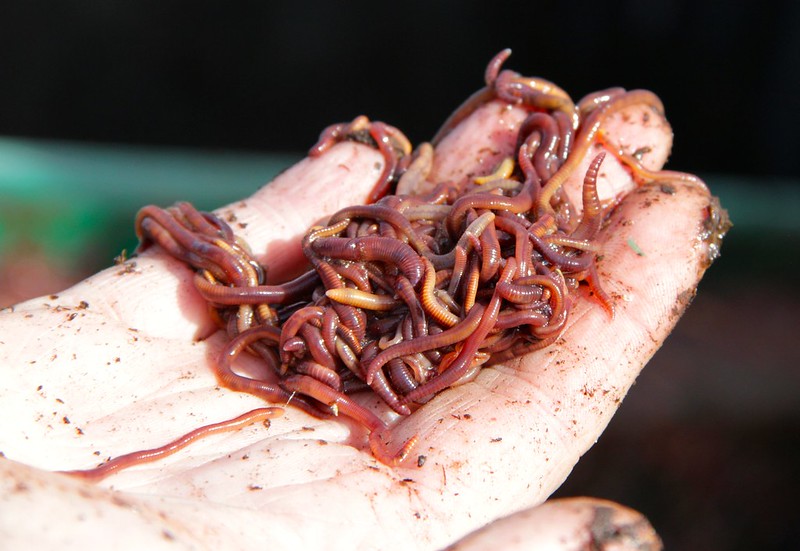
You don’t have to build a complicated setup to raise red worms. A simple plastic tote with ventilation, damp shredded cardboard for bedding, and composting red wigglers from a reliable source is a great place to start. You can also buy a ready-made bin if that fits your space better. I compare both approaches in my DIY vs. store-bought worm bin guide. And don’t assume ordinary earthworms dug out of the yard are the same as composting red wigglers.
Building Your Worm Bin
Start by making ventilation holes high on the sides or in the lid, then fill the tote with damp, fluffy shredded cardboard or paper. I don’t automatically drill holes through the bottom of my bins—I’d rather manage moisture so worms aren’t dropping through a drainage hole. But this only works if you keep the bedding airy and never let water pool underneath. Add your composting worms, give them a little time to settle, and keep the bin shaded and away from temperature extremes.
See how I set up a worm bin for fishing
Browse ready-made worm bins on Amazon (affiliate link)
When new worms arrive, don’t dump a week’s worth of scraps on them. Let them settle into their bedding for a day or two, then bury a small feeding in one corner. Look at how quickly it softens and disappears before you offer more. When in doubt, less food is easier to fix than a stinky, overloaded bin.
How To Feed Your Red Worms
I like feeding in one spot instead of spreading scraps across the whole bin. That way you can check the previous meal without digging everything up. Rotate to another spot when you’re ready, and leave the rest of the bedding undisturbed. You don’t need a different feeding zone for baby and adult worms.
For a beginner bin, stick with chopped fruit and vegetable scraps, modest amounts of coffee grounds, and crushed eggshells, and keep plenty of shredded cardboard mixed in. Skip meat, dairy, oily or salty leftovers, pet waste, and vacuum dust. I also avoid piling fresh grass clippings into a small tote because they can heat up as they break down. Bury the food so flies don’t get first dibs. For more examples, see my worm feeding guide.
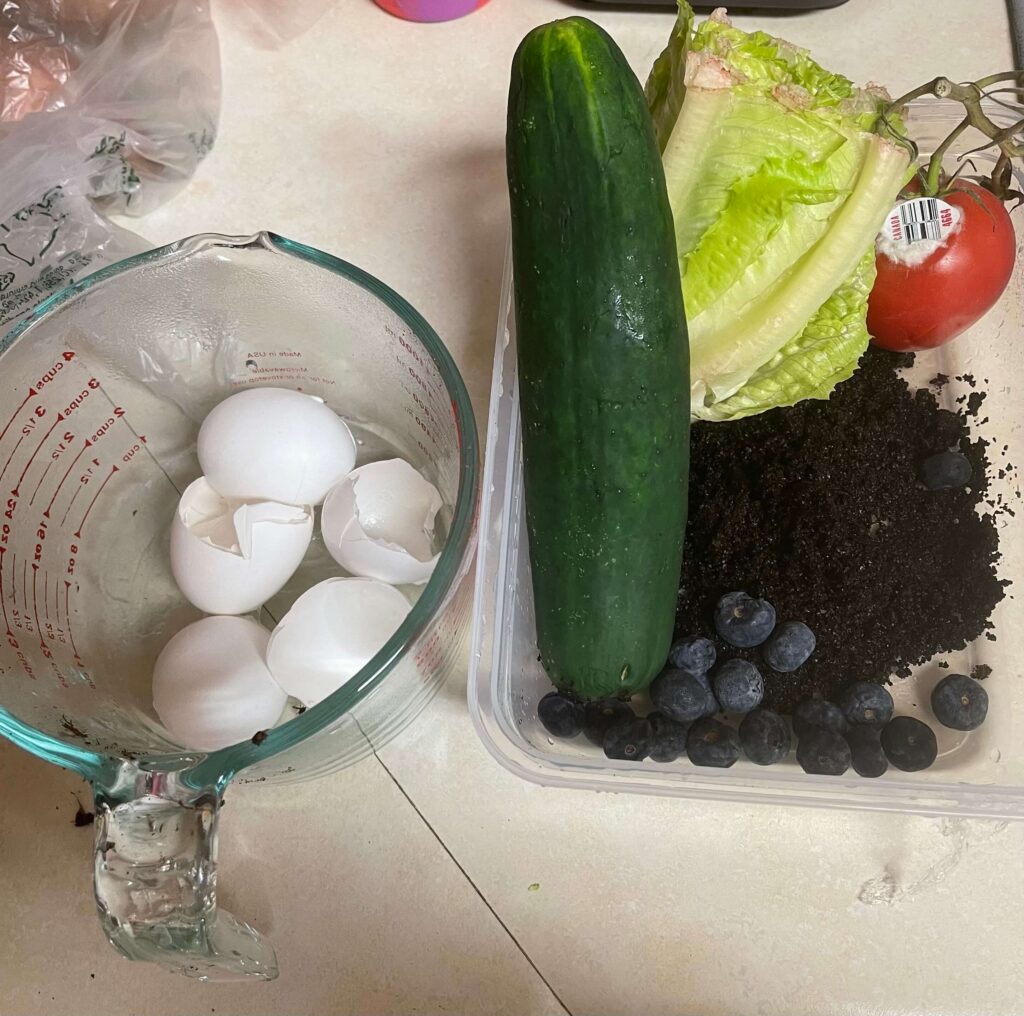
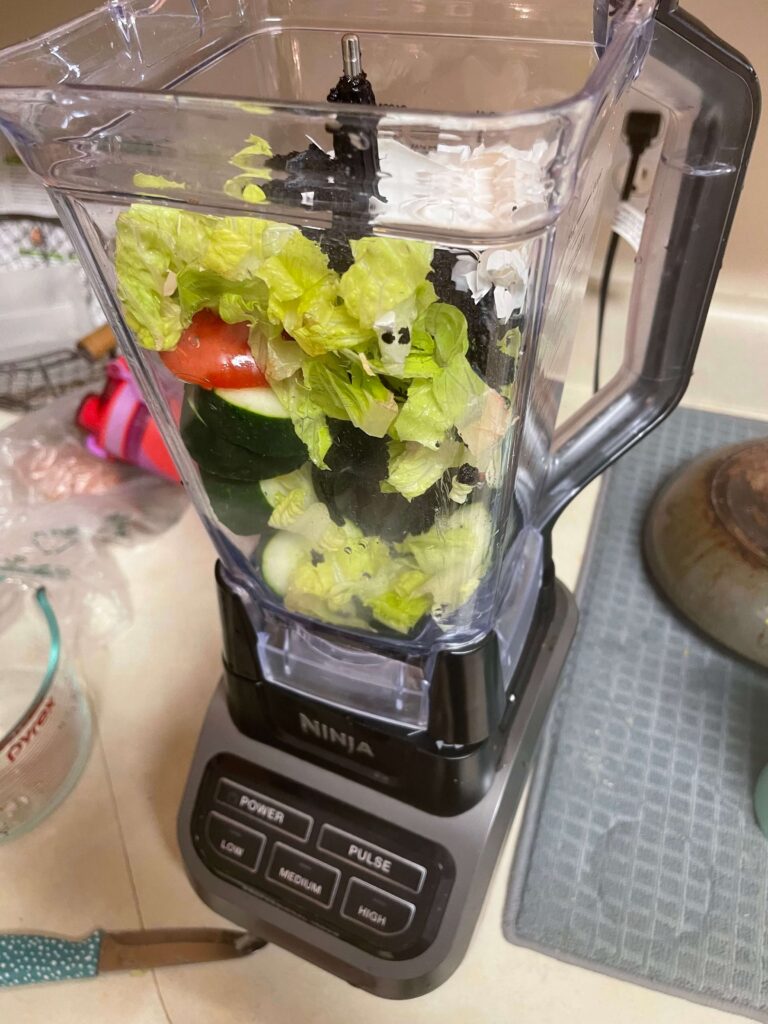
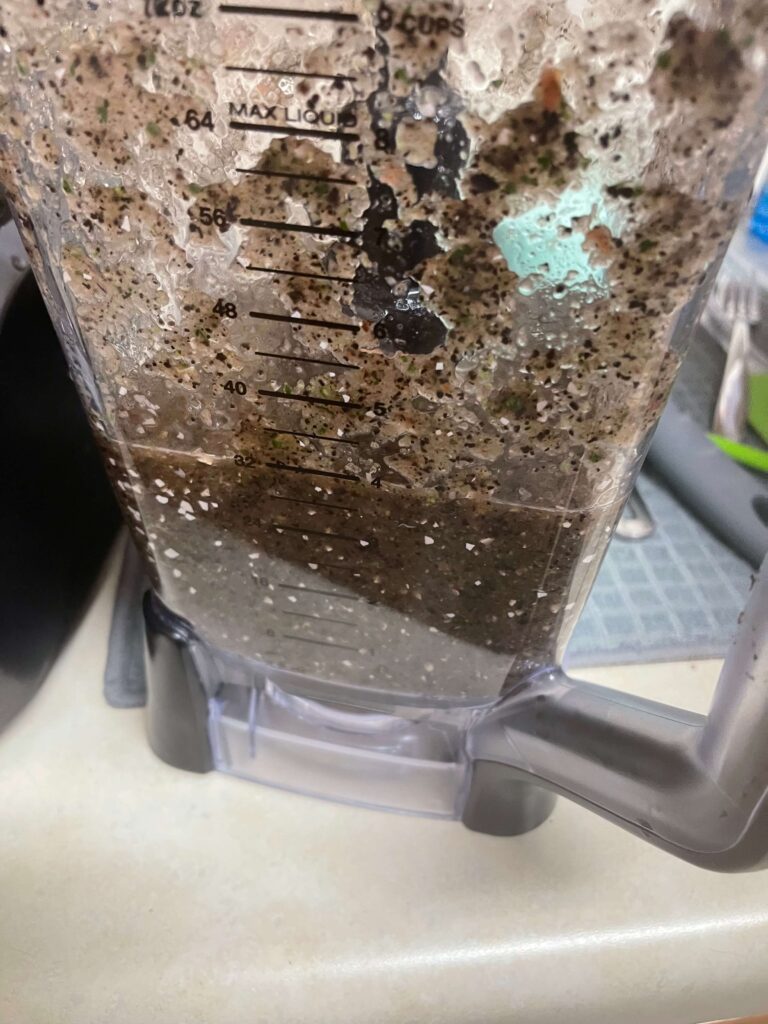
Don’t water the bin just because it’s Tuesday. Grab a handful of bedding and squeeze: it should feel like a wrung-out sponge, not drip freely. If it’s dry, mist lightly and mix in moist bedding. If it’s soggy or smells sour, pause feeding and add dry shredded cardboard. Worms need moisture and oxygen.
Acquiring & Maintaining Red Worms
Worm sellers often estimate roughly 1,000 red wigglers in a pound, but the actual count varies with worm size. Their population can grow in a healthy bin, but don’t plan on a guaranteed doubling date. Food, temperature, moisture, maturity, and available space all affect reproduction. Start with the colony you can care for and expand only when the bin is ready.
Where I’d Start When Buying Red Wigglers
My trusted supplier is Meme’s Worms. If you’re starting your first bin, order an amount your setup can actually support and give the worms time to settle. More worms won’t save a wet, overfed bin. Here’s the supplier option I recommend:

Another worm supplier option: Uncle Jim’s Worm Farm (affiliate link)
If the tote feels crowded, check the food pocket before you split it. Is the food disappearing? Are there little worms, adults with a raised band, and tiny lemon-shaped cocoons? If the bed smells earthy and you want a second colony, get a fresh bed ready. Move a few handfuls of worms and their old bedding together. Feed both groups smaller portions while they settle.
Using Red Worms For Fishing To Maintain The Farm
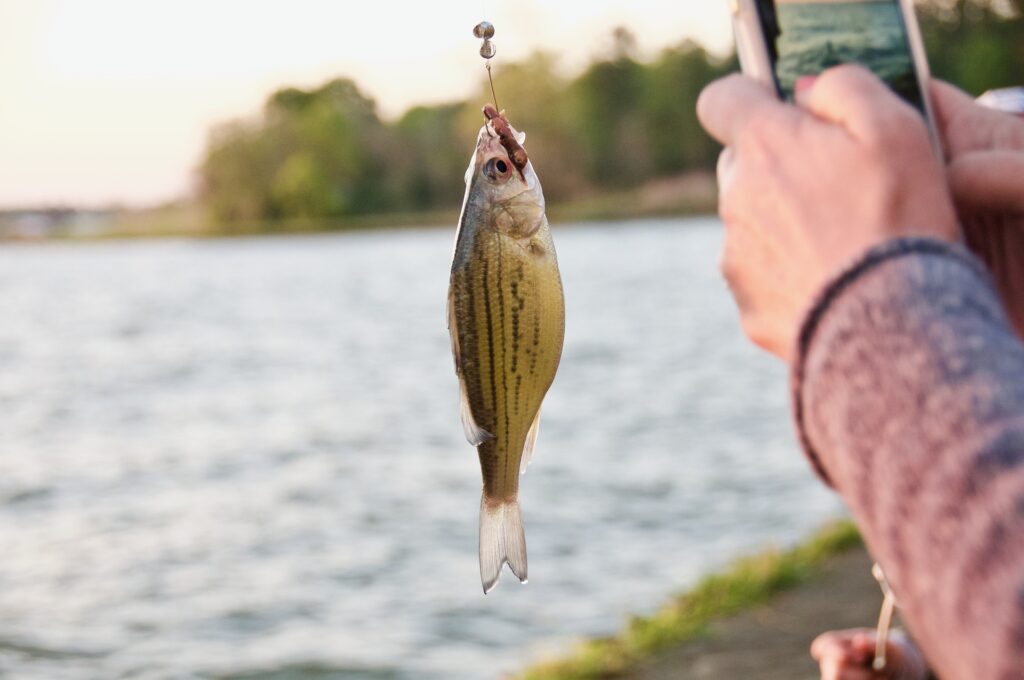
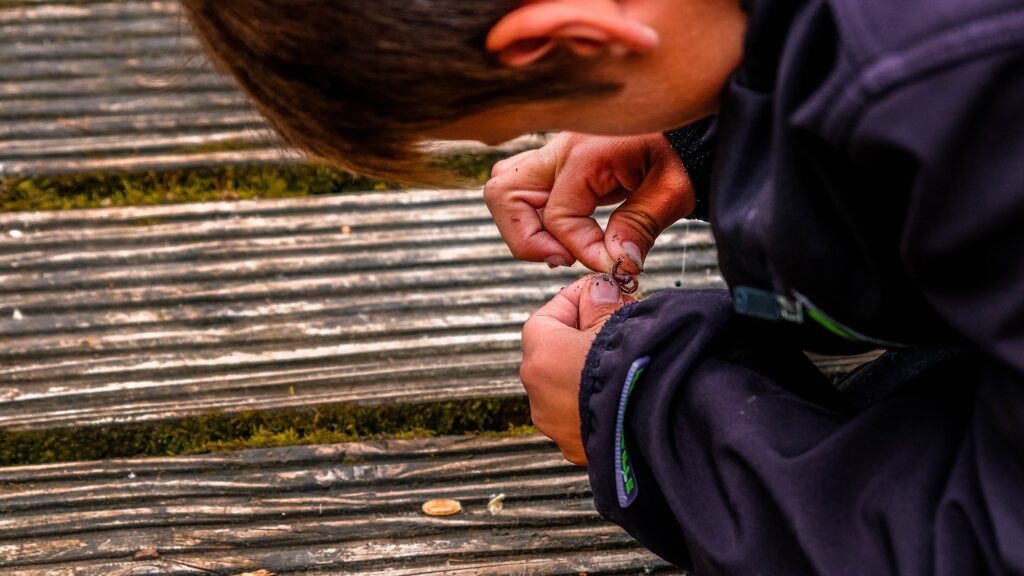
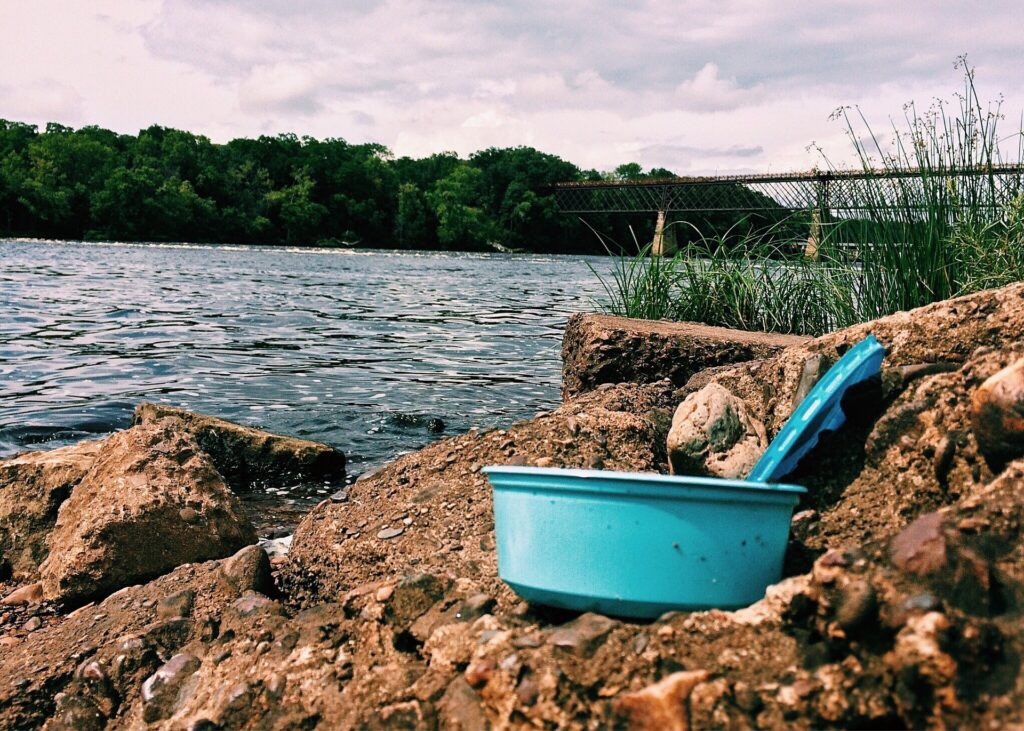
Red wigglers will fish just fine on a small hook. I also raise European nightcrawlers when I want a bigger bait worm. Pick only what you expect to use and leave plenty of adults in the tote. Keep the bait cup shaded, with air holes and damp bedding. At the end of the trip, bring unused bait and bedding home. Never empty the cup at the bank or in the woods.
Next time you lift the lid, check where you left lunch. Still a pile of soft scraps? Cover it and wait. Mostly gone, and the bed smells earthy? Bury another small meal in a new corner. A clothespin on the rim makes that spot a whole lot easier to find next time.

Pingback: Commercial Worm Farming Equipment: Boost Your Organic Fertilizer Production - The Worm Farmers
Pingback: Feeding Worms in a Worm Bin: The Ultimate Guide - The Worm Farmers